


Building John Marston's Satchel in Real Leather

Watch the full build on YouTube: fourteen minutes, nothing skipped.
A game that cared about leather
Red Dead Redemption 2 was built by people who clearly looked at real leather before they modelled any. John's satchel is barely on screen for more than a few seconds at a time, and it still has more character than most bags you can buy today. That is the whole reason this build exists, and the reason I spent an unreasonable amount of time pausing the game and squinting at a bag.
This is the first piece of a longer project: John Marston's complete Van der Linde gang outfit, rebuilt in leather, one piece per video.
The pattern came from screenshots
There is no pattern for a bag that does not exist. So the first step was the slow one: freeze the frame, look at the proportions, work out where the seams actually run, and redraw the thing flat until the shapes make sense as leather rather than as polygons.
That is the part nobody films, and it is the part that decides whether the finished bag reads right.
None of it touched leather first. The pattern goes through paper before the hide comes out: leather has no undo button, and a bad cut is a hide you already paid for. The mock-up is what tells you the flap curve is wrong while the mistake still costs nothing.
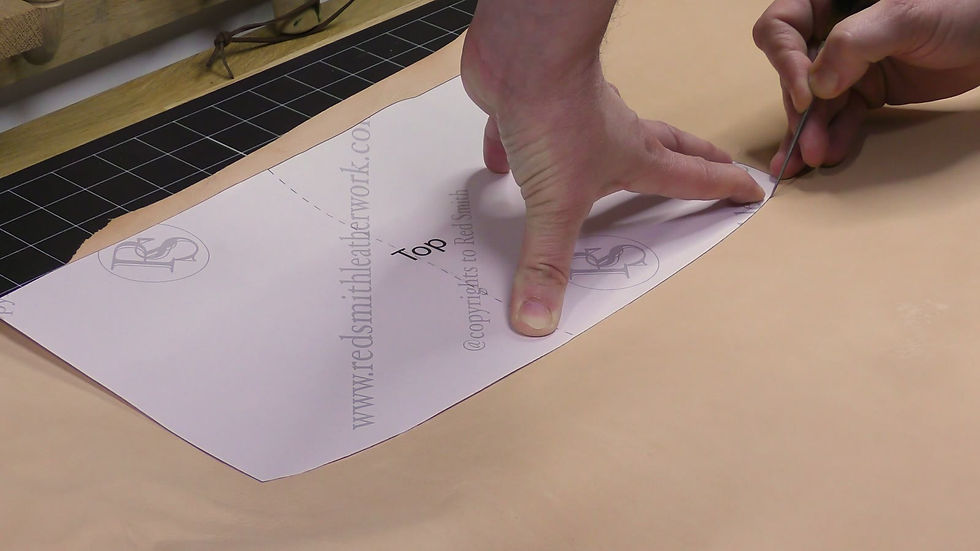
2.6 mm vegetable-tanned leather
The body and the flap are 2.6 mm vegetable-tanned leather. Thick enough to hold the shape of the flap without a stiffener, thin enough to still fold where it has to.
Veg-tan was not a stylistic choice here, it was the only honest one. It is the leather that takes dye the way the game's bag looks dyed, and it is the leather that ages the way the game's bag looks aged. Dyed and antiqued by hand to get that dust-and-saddle-soap look: the worn finish is applied, but from here it keeps going on its own.

Green velvet, straight from the reference
The inside is lined in green velvet. That one is not an interpretation: it is in the game, and leaving it out would have been the easy way to lose half the character of the bag.
Lining a curved flap in velvet is also where a build like this goes wrong if you rush it. The lining goes in glued and clamped, flat and without a single wrinkle, before anything gets closed up.

The order of operations matters more than the stitching
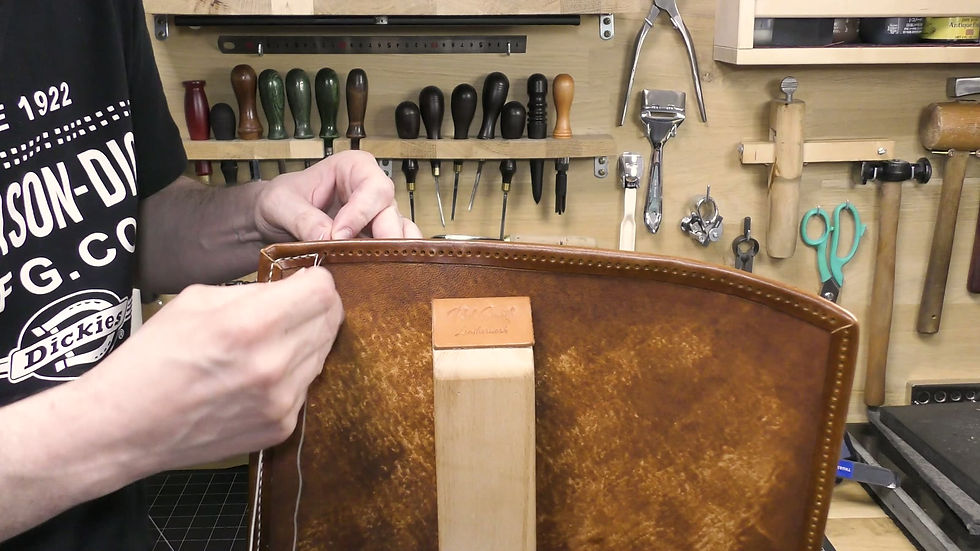
Everything that matters is stitched by hand, but on a bag like this most of the work happens before the needles come out. The leather is glued, clamped, bevelled and burnished first. The edge binding that gives the bag its silhouette is done before assembly. And the buttonhole slot for the closure is cut before dyeing, because cutting it afterwards is how you ruin a finished flap.
The closure itself is a screw-back concho. The strap runs on rectangle rings through its own loops, so it carries the weight through the leather rather than through the stitching.
Full disclosure on the stitching: the shoulder strap went through the sewing machine. Partly for perfectly even spacing, partly because I had just finished repairing the machine and wanted an excuse to run it. Everything else on the bag is saddle stitch, by hand.
Who it is for
A bag like this is for cosplay, for LARP, for a Red Dead player who wants the object rather than the screenshot, or for anyone who just wants a bag that gets better with age rather than worse.
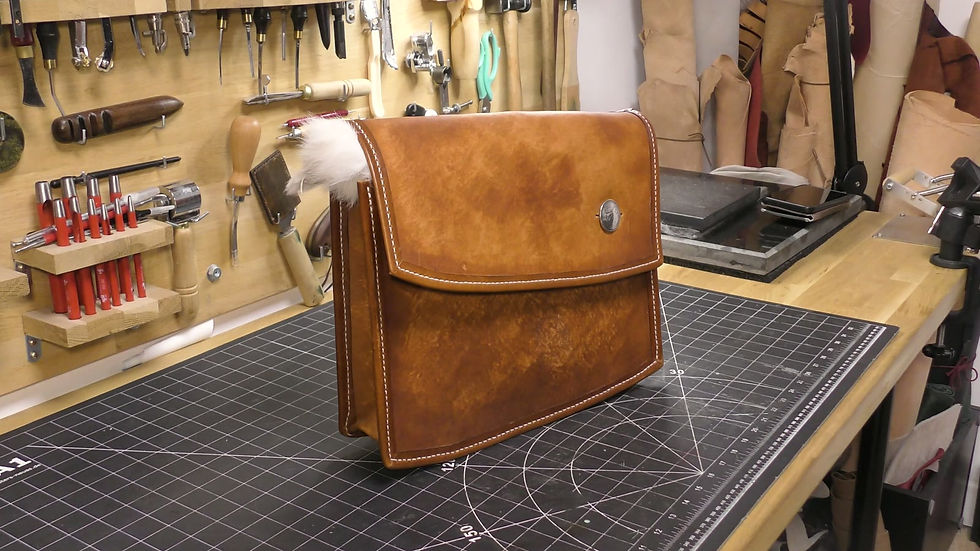
The full build is in the video, in order, with nothing skipped: pattern, cutting, dyeing, strap, lining, assembly, edge binding, stitching, concho. Fourteen minutes.
If you want a piece like this made for you, that starts on the custom order page. If you would rather take something already finished, the hand-stitched leather goods are in the shop.
If you have a question about any step of it, ask in the comments. I answer all of them.


Comments